You can easily build a storage mirror with a few simple steps. First, you will need a wooden frame for the storage mirror. This is usually made of plywood, but you can use a wood frame of any kind. Next, install the hinges on the wooden frame. They should be installed on the front edge. You should reverse the procedure for the opposite opening. For the hinges to be stable, apply some super glue to them. The glue will help them remain in place when they open and close. Once you are done, you can install screws to secure them to the wall.
Once you have all of the necessary hardware, you can mount the mirror. The first step is to remove the metal frame. You should then set the glass and the backing out of harm’s way. Next, use a drill bit to attach the mirror to the cabinet’s interior. Make sure that you use a drill bit with a high-quality, sharp point. After that, you can use painter’s tape to guide the drill bit.
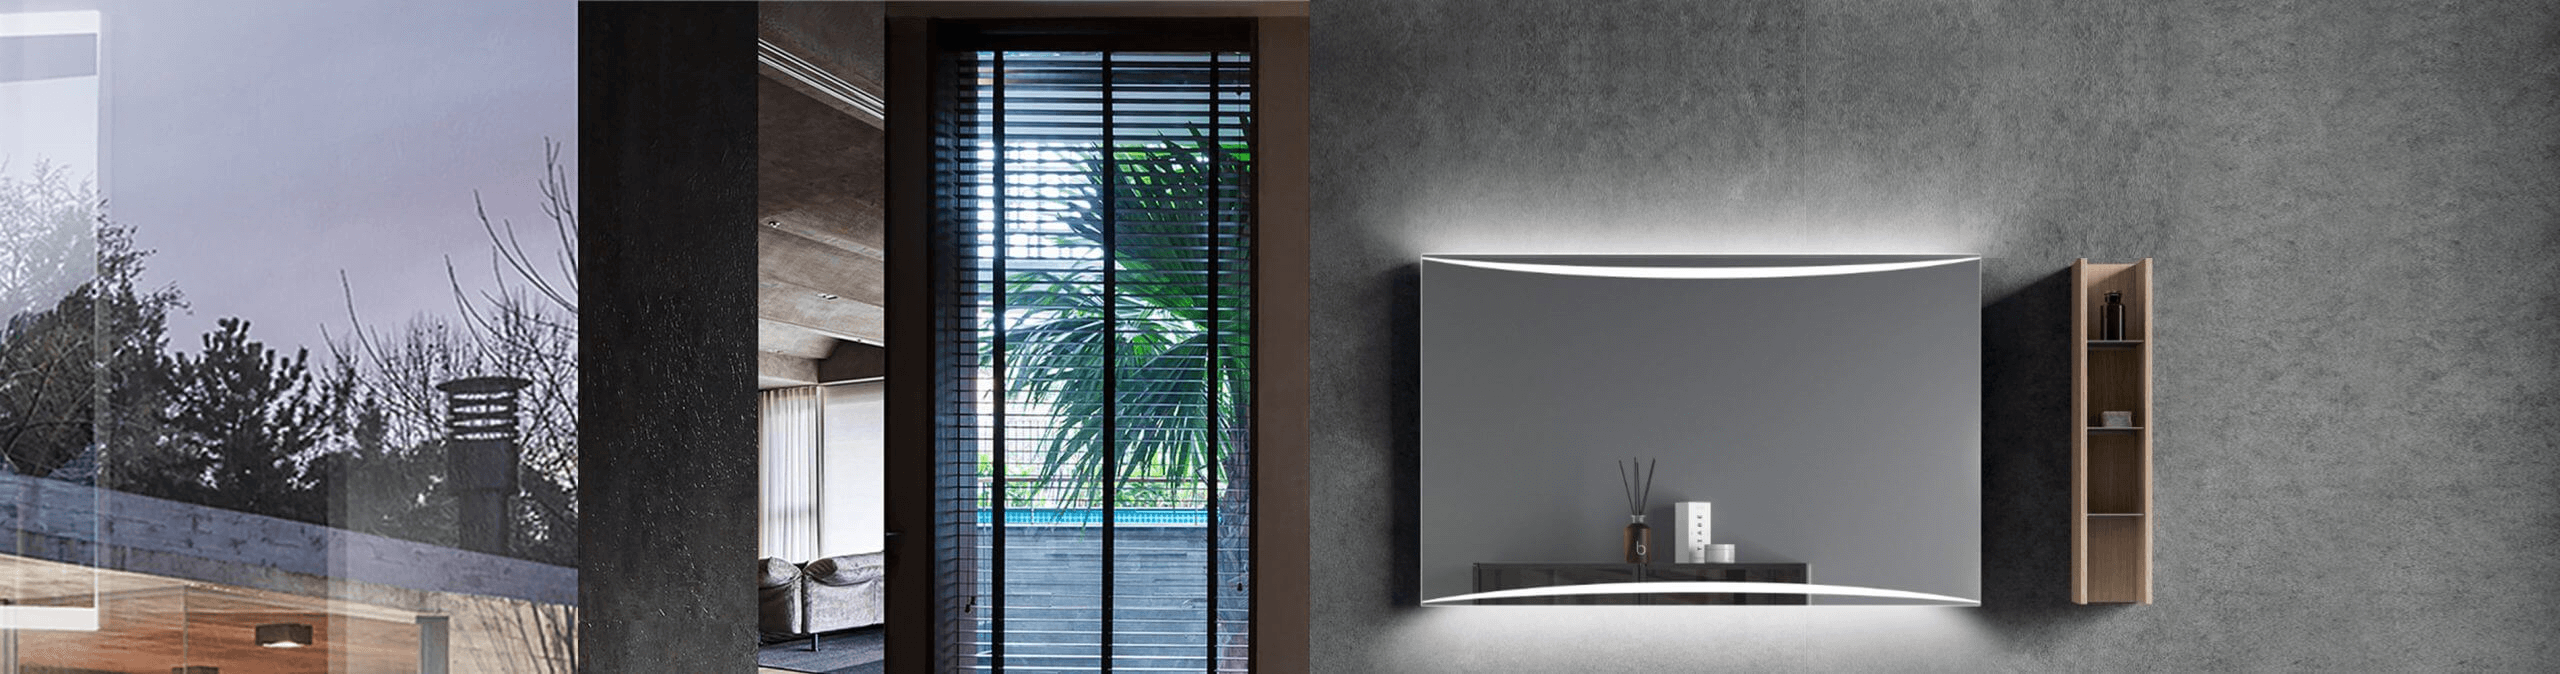
What is a storage mirror? Well, a storage mirror is a mirror that has a shelf under it. A mirror that has a shelf is often referred to as an AT-storage mirror. This type of mirror is a great option for small spaces. They provide a lot of storage space for smaller items. Depending on their size, some can double as a shoe stand or coat rack. These mirrors are also great for storing spillover items in the closet.
A full-length mirror is a good option because it can be hinged to reveal storage underneath. You can also install shelves or hooks using Velcro. This cut list can easily be adapted for any size of the mirror, and the materials can be swapped for a thicker frame or deeper cavity, depending on the type of storage you need. Just be sure to make a precise cut. There are three ways to install a mirror with storage.
So, you’ve got an old storage mirror. What to do now? Here are a few steps that will help you make a storage mirror. First, remove the metal frame from the mirror. Next, set aside the glass and backing. Once these are in place, clamp the frame to the work surface. Use a scrap board as the drilling backing. Drill holes for the hinge. Then, glue the mirror back into place.
Measure the length of your short boards. Cut two boards, one for the top and the other for the bottom. Place them flush against the frame. Use hot glue or Liquid Nails to attach the edges. Once you’re satisfied with the length and the angle, you’re ready to add the face pieces. Repeat the process for the other face. Once you’re finished, make sure that the edges of the mirror are flush.
Now, install the hinges. Place a brass hinge on the front edge of the wood frame. Reverse the process for the opposite side. Screw the hinges into place. The mirror should be centered. This will ensure that the mirror stays in place while you’re opening and closing it. Super glue only holds the hinges in place temporarily, so make sure to use screws to secure them. If necessary, you can also add small block shelves into the open cavities on the sides of the mirror.
Mount the mirror. Make sure that the cabinet door has three hinges. You can use drywall anchors to secure it to the wall. After the mirror is in place, apply a thin layer of mirror adhesive to the back side of the cabinet. Attach the mirror with a magnetic catch on the cabinet door and on the back of the mirror. Once all of the components are secure, you’re ready to paint the cabinet door.

@2x.png)


@2x.png)